SECOND UNIT UNDERSTANDING FASHION FOR MMU FASHION
Today we arrived to have a briefing induction on our new upcoming project: Understanding fashion. before coming into the lecture theatre i was up and ready to start something new as we havent been doing any work for the past 2 or so weeks.
Basically our work is revolving around the Museum of science and industry. We are having introductions to the archives on monday which allows us to gather information, photos and lots of first had research to help start our project. we are heavily basing it on pattern and colour, and with this pattern creating print which we will be having several workshops on this. Alongside all this research we will be having several workshops on shape making, drawing and print. I am excited to introduce colour in my work and even make my own digital print.
These 2 weeks before we break up are going to be manic. Over christmas we are asked to follow with this research and get a whole body of work and including research into designers listed within the brief. After christmas our first day back we are going to a trip to Nottingham to fabric source. The followin 2 weeks we need to gather up a body of designs and explore these until we are able to present our final designs through our toil and have our intended fabric in had for our design presentations on the 25th january. From which we have week 5 6 7 to start creating our garments for the deadline of 19th of february. This will be the end of part A. Part B starts straight after for another 2 weeks which is reflecting what we have created and the skills we had learnt in our digital workshops which in my case is Fashion Editorial. We are advised to work in small groups of around 5 to publish our garments and designs which we had created. These will be then exhibted actually in the museum science and industry.
I am really excited to start this new project. I immediatly went to the shop and bought my two new sketchbooks. 1 A3 for my main sketchbook and a small square to start my fabric sourcing when we go on the trip to nottingham.
Our main inspiration for our newest brief is the Museum of Science and Industry. Today we were given an introduction to the Archives however I was a little bit disappointed. When we arrived and went down to the archives, I was expecting a lot more however the man just explained when these are open and available to us, and pointed out at them. We then were able to have a look and document our findings, but there wasn’t much inspiration. There were books and more books.
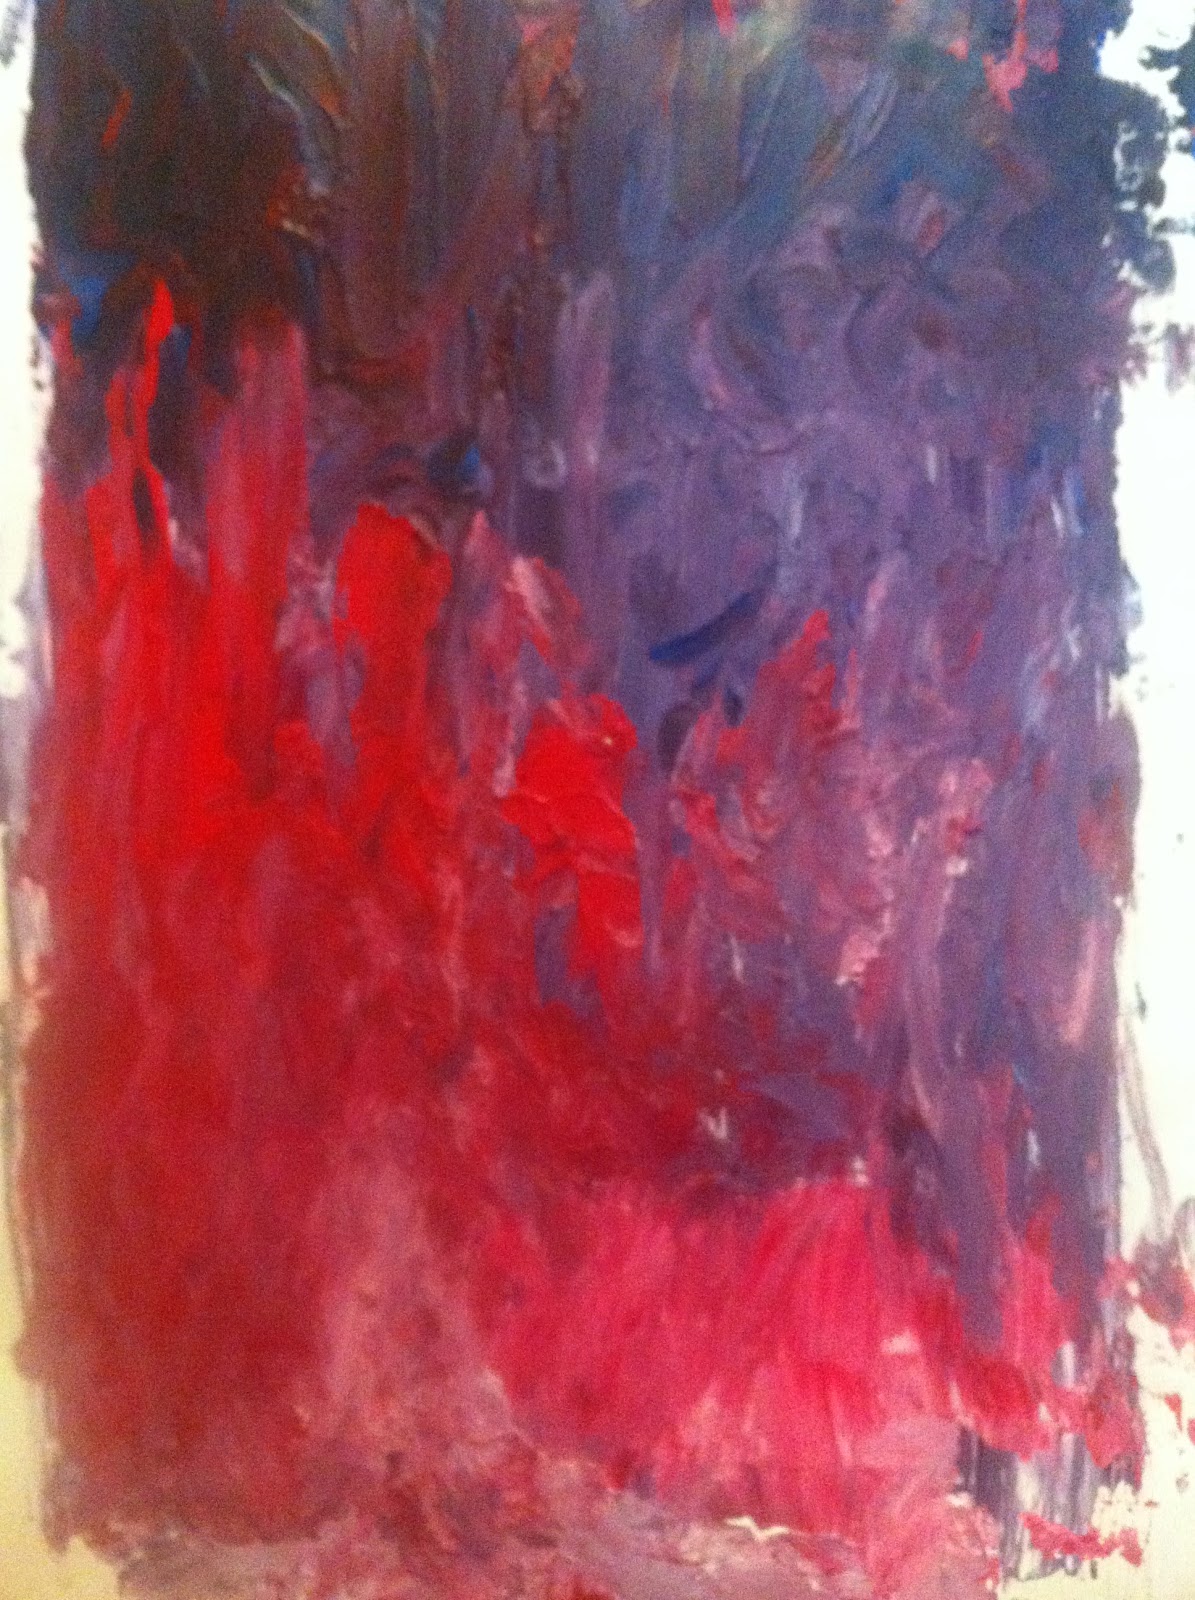
I really like the colours of this tie die effect on this material, which was used just for a sign within the museum. The blend of the deep purples with the red and pink fading to white I think is really effective.
The only other thing, which I found inspiring at this museum, was the Wasted Works exhibition: which was all around the art of using the waste from our human body and creating it into something useful of art. The main thing that I liked was a resign structure, which reminded me of icicles. It related to the delicate theme again. From afar it just looked like a structure but up close you see the main reason for this sculpture. They are still in process of this and will hopefully be completed in 2015. It’s a collection of milk teeth, which are donated by the public. So far they have 1,200 and need around 12,000 to cover the entire sculpture. In my opinion I think the teeth ruin the sculpture however without the teeth it wouldn’t relate to its purpose. It was titled: Palaces.


From this i spoke to my tutor and she looked through my ideas, and told me to try and experiment with some sort of tie die from being inspired at MOSI. With this idea, i went on further and tried printing with oil paints and this created an marbling technique.


Alongside these oil paint marbleizing prints, used acrylic to create print but using layer and layers of pint on paper. More like a painting however I photographed these and this became a print.


sunflower


 From this i also had the idea of using more panelling and sectioning within the upper part of the garment. I particulary like how it is just one strong colour and one strong shape however for more detail, and pattern sectioning this upper part might work better. I tried different ideas, and i quite like this idea. I can decide this later on this progression of the garment as the panelling would be just extra coloured pattern pieces attached on the intial shape.

 And so we decided on the middle design on the image above, however altering the bottom colour placement which later on i decided.


Now that PART A to this unit is finished, we then have to use these garments within our groups of 5 to create a ZINE to publish these.


I Photographed all of my favourite prints,and messed around on the computer with them, flipping, reflecting them and all this to make a print and a repeatable print.


I then began to input these into my designs alongside block colour however after speaking to my tutor she advised that I should just stick with block colour and use some abstract colours.
To decide what colours I chose actually went back into my research and then picked out colours from each print and put them together. They are individually abstract colours but together actually go together nicely. From this colour palette I was then able to match up some material perfectly for my garment.
--maroon
--petrol blue
--mandarin


From the design presentation and speaking to my tutors, i followed their advise in choosing the design they chose to further expand this and combine other bottom designs to the upper garment.
I decided to put a design which i liked the bottom of combining it with this upper garment to create the overall garment i have designed and which i will start making a toil with.
In my designs i have kept alternating the different colour placements in where i will put each colour on which panel

Today we had a fitting/tutorial, and had to bring our shape development and our toil, and all of our deisgns to show what we are aiming to do for our garment.
we didnt realise we had to bring a model, so between us we have to bring forward a model for the group for each fitting but for todays session, we had to use each other so myself and sonia and lizzie modelled for each other whilst showing our toiles.
we didnt realise we had to bring a model, so between us we have to bring forward a model for the group for each fitting but for todays session, we had to use each other so myself and sonia and lizzie modelled for each other whilst showing our toiles.
Before i showed my shape development toil, i explained my design and how that i didnt really know how to propose this idea into a garment. After showing her, she really liked my fabric samples and she told me i should definatly use these within my garment, and the colours i have chosen also. However maybe taking the purple out so that there isnt so much to deal with.
They were all silky satins, so that the garment wouldnt have so much structure but would hang and drape nice.


With this we developed on how i would actually create this garment. Instead of it being one big garment, we figured it would be alot easier to separate it into a top and a skirt. The top would be one piece, but the sleeves created in the orange fabric attached onto the teal fabric top, but working out the two orange panels which i would insert into the teal fabric. This would be gathered at the bottom with a shaped hem.
The skirt itself, we initially tried to replicate my original design with the layered effect, and thought having one skirt on top but with 2 half skirts underneath, however we figured this could look a bit flimsy as the half skirt could look like they just hang there, with no point to them. So then we thought of creating 3 skirts, but then thinking of costs of materials this could actually be a waste of material, so following from this and the idea of inserting panels into the top, we would reflect this into the bottom skirt using the same technique.


With the top shape, i will translate this and cut the panel front and back and use a lighter weight calico ( after washing it, so it would be alot softer and bouncier), i would copy the gathers at the bottom and then work out the panels for the opsing sides of the garment and sew this in, and then attaching this back together.
later on after the fitting, i played around with the colour placement and narrowed it down to 2 different colour placements which i will have to decide on.
Here i have been shocked that i have completed my garment in this time left. I tend to think now that i have done something because of the early completion however i know that the garment i have created heavily reflects my designs and fashion illustrations which i am very happy with!!


No comments:
Post a Comment